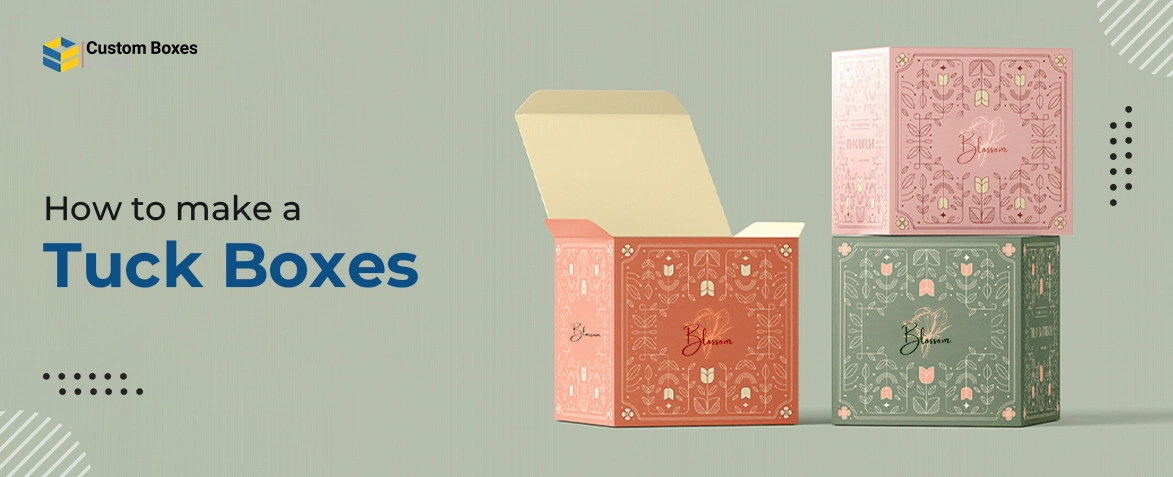
An Expert Guide On How to Make A Tuck Box
2024-06-07 13:19:57

Tuck boxes are widely used because they offer product protection to a very large extent. Are you looking forward to making your own tuck boxes? It’s not that expensive to make these boxes at home. All you need are the right materials and techniques.
According to some sources, the tuck top box market has a CAGR of 4.15% for the forecast period of 2022-2029. Read this blog to learn what are tuckboxes, their types, and how you can enhance their look.
What Materials are Needed to Make a Tuck Box?
Before getting into the details of how to make a tuck box, you must know what important tools you have to get. Making a tuck box at home is not that hard as most people think it to be. You need the following materials to make a tuck box:
- A sturdy material
- Ruler
- Pencil
- Cutting tools like, scissors, craft knife
- Adhesives like, glue, double-sided tape
What are Tuck Boxes?
Tuck boxes have a very simple yet effective storage mechanism. These boxes usually have a flap on the top that is tucked inward. With this inward tucking the product remains inside the box even when placed upside down. Tuck boxes have an easy open-close mechanism.
5 Easy Steps to Make Custom Tuck Boxes
Creating a custom tuck box is more than just assembling the cardboard. From deciding the design to choosing the right finishes, every step needs careful consideration. Here is the process of how you can make tuck boxes:
-
Choosing the Material
The first step is to choose which material you’ll need for your tuckboxes. There are many packaging materials available in the market such as; paperboard, kraft, cardboard, etc. Cardboard, among these three, is a sturdy material that can keep your product safe from external factors.
-
Defining the Dimensions
Dimensions play a very important role in making your custom tuck boxes. You have to make sure that the box you are making can easily fit your product. Measure your products length, width and height and then decide how big you want your tuck boxes to be.
-
Cutting the Material
After measuring the dimensions, it is time to cut the material. Use a ruler and marker to draw the lines, and then a sharp scissor to cut the material. Use a pencil to sketch the parts that you need to fold later.
Doing so, you can get a uniformed look of your tuck box.
-
Applying the Adhesive
After you have carefully marked the folding lines and cut the material it’s time to apply the adhesive. You can use a glue stick or any other type of adhesive to apply on the parts. Once you have applied the glue, apply gentle pressure to keep it firm while the glue dries.
-
Designing the Tuck Box
Once the glue is dried, it is time to give your tuckbox beautiful designs. You can add a small PVC window as well. Choose the beautiful colors, fonts and designs to enhance your box’s visibility. You can also apply different packaging finishes on these boxes like matte, gloss for better presentation.
3 Tuckboxes Style You Can Try
There are many styles that you can choose for your custom tuckboxes. Each style has something unique to offer. Choose the styles that work best for your product. Some of the common tuck boxes styles are:
-
Reverse Tuck Boxes
Reverse tuck boxes style allows you to tuck the top or bottom flap layout into the box from the opposite direction. The top opening flap is tucked into the backside of the box, and the bottom opening flap is tucked into the front side. This style offers maximum product protection.
-
Straight Tuck Boxes
Straight tuck boxes are tucked in the same direction from both sides. Both openings offer two flaps that are attached to the sides. These flaps are folded inwards and then another bigger flap rests on top of these flaps. These are perfect for retail purposes.
-
Snap-Lock Tuck Boxes
Snap lock boxes offer several locking flaps and ensure the products safety during shipping and on the shelf. These boxes are easy to assemble and provide secure closure with no glue feature. Snap-lock boxes can have various sizes as per your product’s needs.
Enhance Your Tuckboxes with these Finishes
You can enhance the look of your custom tuck box by applying beautiful finishes. You can either use one finish on your box or more as per your choice. Here are some finishes that you can try:
-
Matte
Matte finish gives a sophisticated look to your custom tuckboxes by removing the vibrancy of colors. This finish looks best on colors like red, black, brown, etc.
-
Gloss
Gloss adds a protective layer around the box, and gives it a shine. This finish gives a beautiful shine when light reflects on it. Use it on colors like blue, yellow, orange, etc.
-
Hot Foil Stamping
Give your tuck boxes a royal look by adding foil stamping on certain parts. Most brands use gold or silver foil stamping on their brand’s logo to improve their box’s visibility.
Create Visually Appealing and Functional Tuckboxes
Now that you know the step-by-step process of making these boxes, you can make as many boxes as you want at home. It is important to know that you will have to repeat the process several times to get the perfect size and design for your custom tuckboxes. However, if you do not have the time to do so, just shoot us an email with your packaging needs, and we will provide you with a free quote!

